How to Design ERD Diagrams and Export SQL DDL in Schema Editor
Step-by-step tutorial: create entity tables, define PK/FK columns and data types, draw Crow's Foot cardinality relations, and export executable SQL DDL migration scripts.
TLDR
Open Schema Editor in ERD Mode, click to place entity tables, and declare columns with their data types and Primary Key (PK) or Foreign Key (FK) constraints. Drag relationship lines between tables to set standard Crow's Foot cardinality (1:1, 1:N, N:M), then click Export SQL DDL to generate clean, production-ready CREATE TABLE migration scripts for PostgreSQL, MySQL, or SQLite.
Before you start
You need a relational database model in mind (such as an e-commerce schema with users, orders, and products) and a web browser.
Schema Editor compiles visual entity graphs into SQL DDL scripts locally in your browser with zero server latency or data leakage.
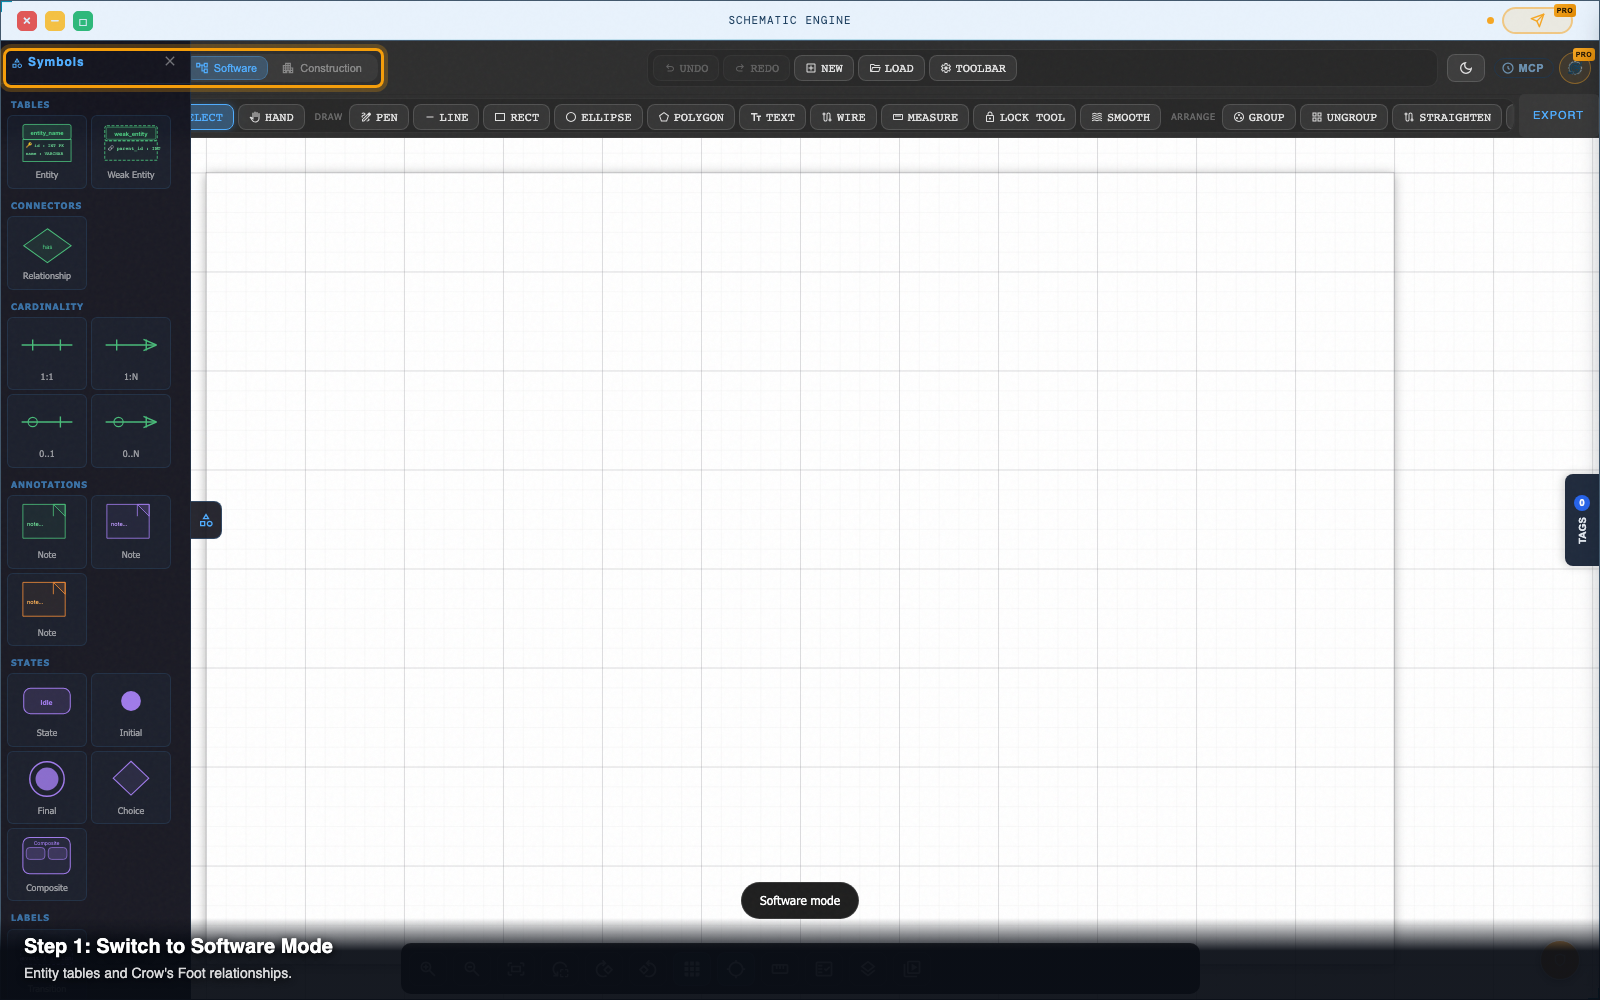
Step 1 — Switch to Software / ERD Mode
In the top mode selector of Schema Editor, choose ERD Mode (or navigate to /tools/schema-editor/software/).
The left toolbar populates with entity design tools: Table Entity, Crow's Foot Connector, Note Card, and Schema Group Box.
Step 2 — Create entity tables and declare columns
Click Add Entity Table in the left toolbar (or press E).
- Click on the canvas to place a new table node.
- Double-click the header to name your table (e.g.
users). - Click Add Column to create attribute rows for
id,email,created_at, etc.
orders with columns id, user_id, and total_amount.
Step 3 — Set Primary Keys, data types, and unique constraints
Select an entity table to view its column configuration panel on the right:
- Data Types: Choose standard SQL types (
UUID,VARCHAR(255),BIGINT,TIMESTAMP,BOOLEAN,NUMERIC(10,2)). - Primary Key (
PK): Click the key icon onidto flag it as the table's primary key. - Nullability & Uniqueness: Toggle
NOT NULLorUNIQUEon required attributes likeemail.
Step 4 — Connect tables with Crow's Foot relationships
Click the Connector Tool (C or the relationship icon in the toolbar).
- Click and drag from the
userstable to theorderstable. - A relationship line snaps between the two entities.
- In the right-hand Cardinality settings, select One-to-Many (1:N).
- The connector updates its line endings with standard Crow's Foot notation: a single cross-stroke on the
usersside and a three-prong crow's foot on theordersside.
Step 5 — Configure Foreign Key cascade rules
Select the relationship line to inspect its foreign key properties:
- Source Column:
users.id - Target Column:
orders.user_id - On Delete Action: Choose
CASCADE,SET NULL, orRESTRICT.
Step 6 — Export executable SQL DDL or Mermaid syntax
Click Export in the top action bar:
- SQL DDL (.sql): Generates formatted, executable
CREATE TABLEandALTER TABLE ... ADD CONSTRAINTscripts. Choose your SQL dialect (PostgreSQL, MySQL, SQLite, or CockroachDB). - Mermaid ER (.mmd): Copies Mermaid ER diagram markup for embedding directly into GitHub READMEs and markdown documentation.
- Vector SVG (.svg): Exports clean vector graphics for architecture review slides.
Pro tip: multi-dialect SQL target selection
Different SQL databases handle auto-incrementing IDs and timestamps differently (e.g. PostgreSQL SERIAL / UUID vs MySQL AUTO_INCREMENT).
When exporting SQL DDL, click the dialect dropdown in the export dialog to generate dialect-accurate syntax (such as PostgreSQL UUID PRIMARY KEY DEFAULT gen_random_uuid() or SQLite INTEGER PRIMARY KEY AUTOINCREMENT).
Next steps
Schema Editor — Draw and edit wiring diagrams, schematics, ERDs, and state machines as real SVG.