How to Build Sequence Diagrams and Export Mermaid Syntax in Schema Editor
Step-by-step guide: place participant lifelines, draw sync and async message arrows, add activation boxes and alt fragments, and export clean Mermaid code.
TLDR
Switch Schema Editor to Sequence Mode, place participant and actor nodes to generate vertical lifelines, and drag message arrows between lifelines to model API requests and response returns. Add activation bars to show execution intervals, wrap branches in alt/loop fragment boxes, and click Export Mermaid to copy clean .mmd syntax ready for GitHub markdown.
Before you start
You need a distributed flow or authentication sequence to model (such as a client-to-server OAuth2 exchange) and a web browser.
Everything renders on an interactive client-side canvas, letting you drag lifelines and reorder messages without fighting raw text syntax.
Step 1 — Open Schema Editor in Sequence Mode
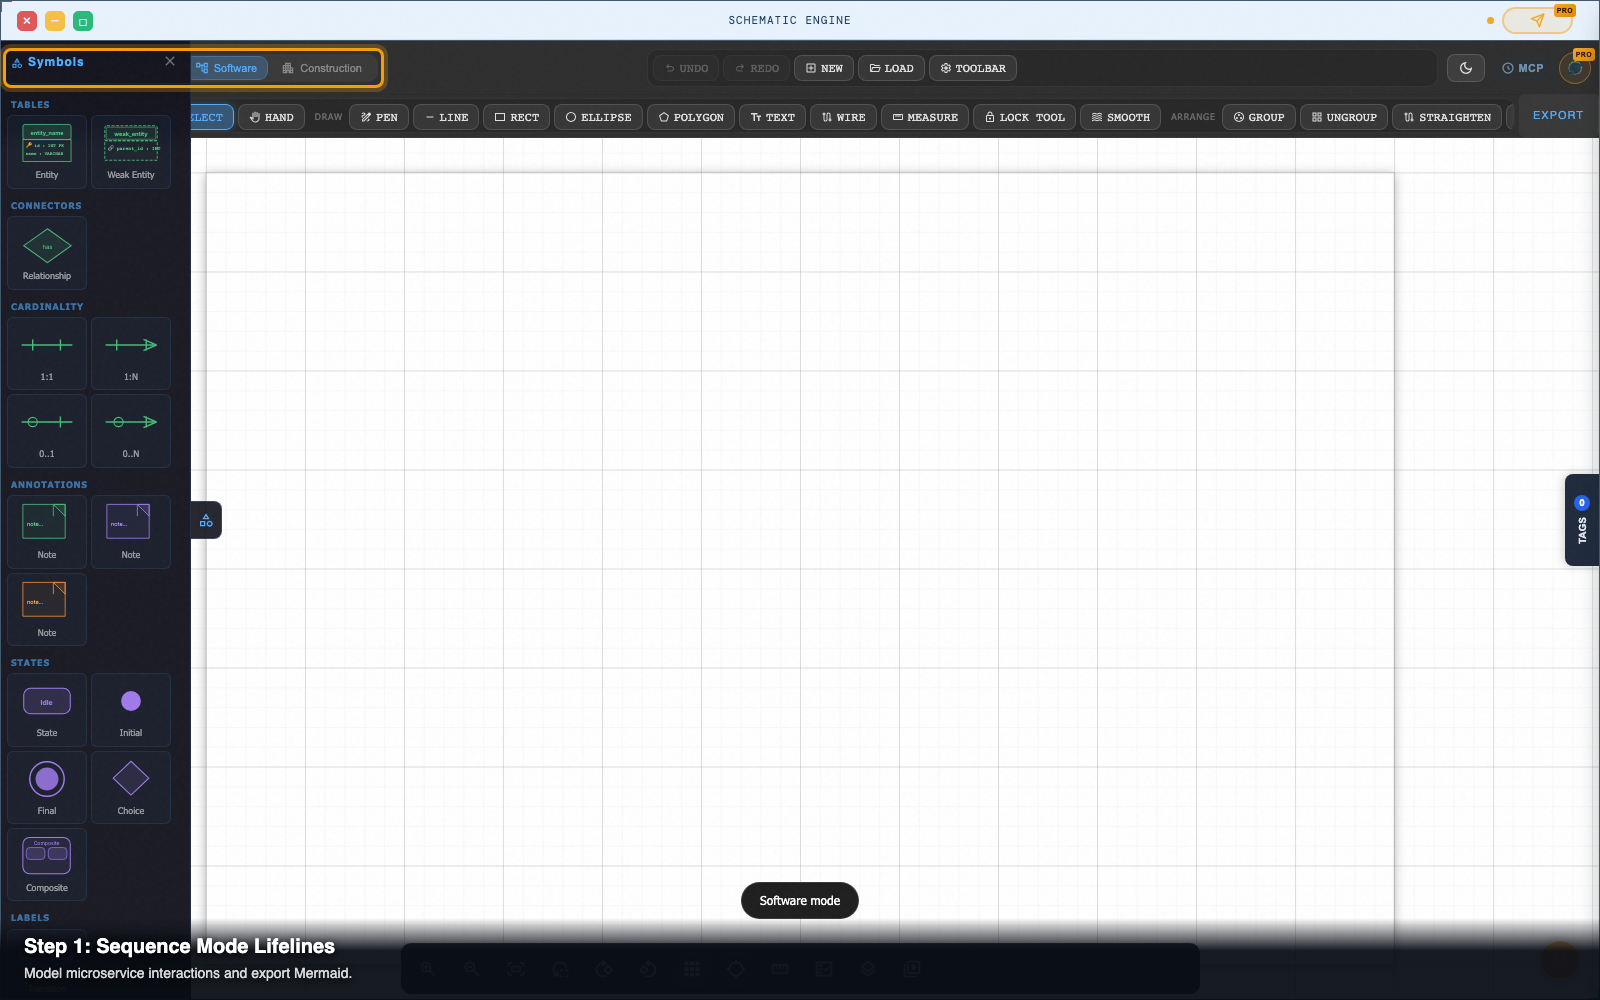
In the top mode dropdown, select Sequence Mode (or load /tools/schema-editor/software/).
The canvas switches to a timeline layout with vertical guideline rulers and a sequence element palette on the left.
Step 2 — Add actors and service participant lifelines
From the left palette, drag participant nodes onto the top header row:
- Actor: Place a user stick-figure icon labeled
User. - Participants: Place rectangular service nodes labeled
API Gateway,Auth Service, andDatabase.
Step 3 — Draw synchronous and asynchronous message arrows
Select the Message Tool in the left toolbar (or press M):
- Synchronous Call (Solid Arrow
->>): Click on theUserlifeline and drag horizontally toAPI Gateway. Double-click the arrow label to typePOST /auth/login. - Nested Call: Drag from
API GatewaytoAuth Servicewith labelValidate Credentials. - Return Response (Dashed Arrow
-->>): Drag backward fromAuth ServicetoAPI Gatewaywith label200 Token Issued.
Step 4 — Add activation bars for active execution periods
Click on any lifeline at the point where a request is received:
- In the floating context menu, click Add Activation.
- A vertical activation box renders over the lifeline, showing when that service is actively computing or waiting for a downstream response.
- Drag the bottom handle of the activation box to stretch it down to the corresponding return arrow.
Step 5 — Wrap conditional flows in Alt and Loop fragment boxes
To show success vs failure branches:
- Click Add Fragment Box in the left palette.
- Drag a container box around the return messages.
- Set the fragment type to
alt(oropt/loop). - Add a divider line labeled
[Credentials Valid]for the top branch and[Invalid Password]for the bottom branch (401 Unauthorized).
Step 6 — Export to Mermaid markdown (.mmd) or vector SVG
Click Export in the top-right header bar:
- Mermaid Syntax (.mmd): Copies clean Mermaid
sequenceDiagrammarkdown. Paste this directly into GitHub issues, Notion pages, or Markdown documents where it renders natively. - Vector SVG (.svg): Downloads a standalone vector image formatted with crisp dark-theme typography.
- High-Res PNG: Exports an image for architecture documentation slides.
Pro tip: auto-numbering sequence interactions
In complex sequences with ten or more interactions, manual step numbers get disorganized when you insert a new step in the middle.
Toggle on Autonumber in the top sequence toolbar. The editor automatically prefixes every message with sequential step numbers (1., 2., 3.) in both the visual canvas and the exported Mermaid code.
Next steps
Schema Editor — Draw and edit wiring diagrams, schematics, ERDs, and state machines as real SVG.